In this article, we’ll be taking you through the procedure to root Moto G4 Plus. It is the second device to receive Android 7.0 Nougat after Google’s Pixel smartphone. Well, that was a real quick move from Motorola, I should say. But wait! What about root? Some of you might even wonder that it is too early to get working root for Moto G4 Plus (since Nougat is just released)? Well, the answer is no. It’s perfectly on time. Though some devices don’t get root access this early, Moto G4 Plus is already lucky enough to have it. All credit goes to the craziness it has created among people all over the world.
Followed by Google Pixel, developers have successfully achieved root access on Moto G4 Plus, running Android 7.0 Nougat. It has also got a custom recovery developed, through which only you can root Moto G4 Plus.
Sounds good, right? Let’s get started!
Note – For rooting Moto G4 Plus, an unlocked bootloader is a must.
Downloads
After downloading phh’s Superuser zip file, Open it. You’ll find config.txt inside.
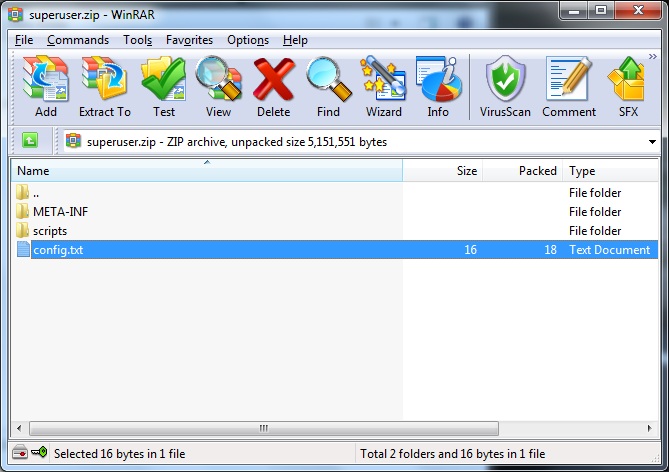
The below code is present in that file.
eng verity crypt
Replace it with the following code
eng noverity nocrypt
Save the file, and upon asking for confirmation to update the archive, select Yes.
Now copy the archive (superuser.zip) file to your phone.
Procedure to Root Moto G4 Plus on Android 7.0 Nougat
Step 1 – Install Fastboot files (Download #1) on your PC.

After finishing the installation, copy twrp-3.0.2-0-athene.img (TWRP Recovery file) to this path – C:\Program Files (x86)\Minimal ADB and Fastboot.

Step 2 -Power off the phone.
Step 3 – Put the phone in bootloader mode. You can do the same by pressing and holding the Volume down button + Power key.
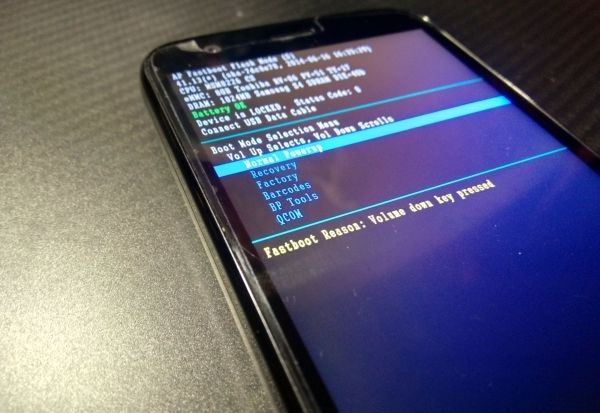
Step 4 – On PC, open the “Minimal ADB and Fastboot” application from desktop shortcut OR MAF32.exe from (C:\Program Files (x86)\Minimal ADB and Fastboot). Upon opening, you should see a command prompt window.
Step 5 – Connect Moto G4 Plus to PC using a USB cable.
Type the following command into a command prompt window to check if your device is connected correctly or not.
fastboot devices
After entering the above command, if it shows some random numbers, you are good to go ahead.

Step 6 – Enter the following command into the command prompt window.
fastboot flash recovery twrp-3.0.2-0-athene.img
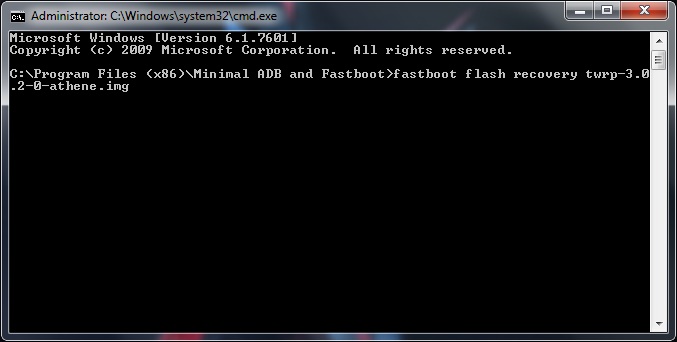
Doing so will flash the recovery image to your phone.
Step 7 – Again, put the phone into bootloader mode (refer to Step 3) and navigate to the Recovery option using volume buttons and select it by pressing the power key.
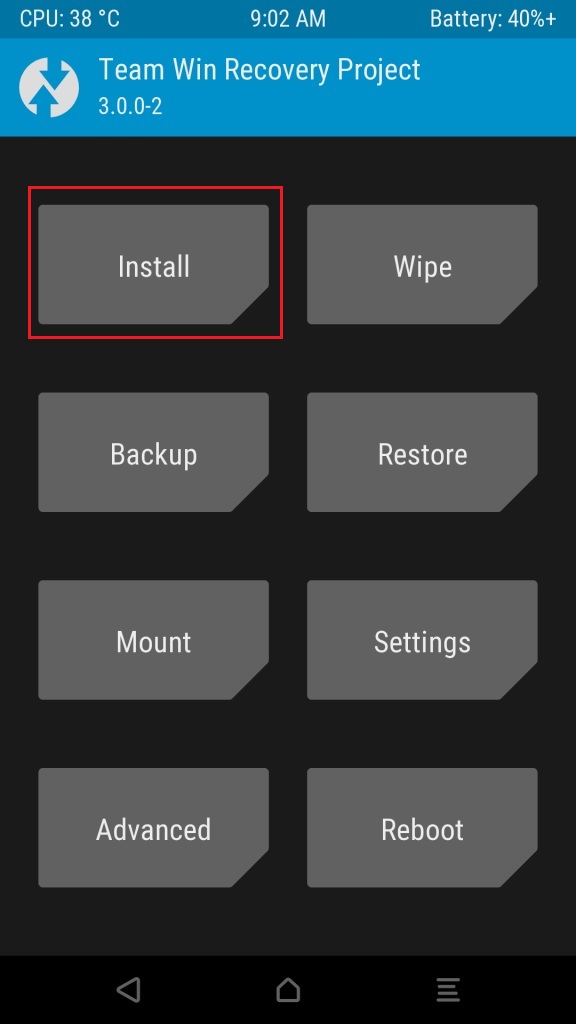
Your device has now booted up into TWRP Recovery.
Step 8 – Press the Install button and navigate to the Superuser.zip file, which you had copied earlier to the device. Select that file and swipe right to flash the same.
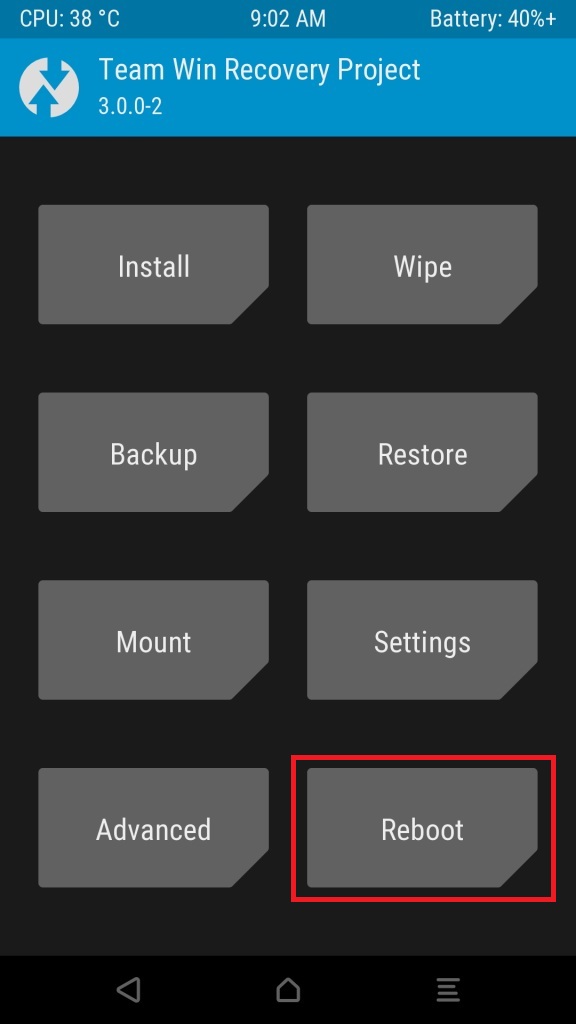
Step 9 – Go to the main menu of recovery and reboot the phone.
Step 10 – After rebooting, open the play store and download phh’s SuperUser app.
And that’s it! Your Moto G4 Plus is now successfully rooted on Android 7.0 Nougat. You can check the same by installing the Root Checker app from Play Store. Cheers!

Source and credits – XDA
your fastboot flash recovery twrp-3.0.2-0-athene.img is currpted
It’s working fine.
AFTER THE INSTALLATION OF SUPERSU PHONE ISNT REBOOTING
i have the same issue.After installation of super su phone will not boot.just a black screen
this will work in soak test not on official nogout
I cant install fastboot files in my pc
not rebook.. only black screen what i do